As an aspiring sculptor I am always looking for new tools and sculpting aides to make life easier and more efficient. The Andrea Miniatures converter has been something I've always wanted to get my hands on to try out. After years of procrastinating, the opportunity to buy some presented it self when a few of us Texans made a field trip to the new Andrea Depot USA, which is the American distribution arm of Andrea Miniatures located in Corpus Christie, Tx. Since I've always been curious about how they work and never found anything written about them I decided to write up an semi in-depth review of the product.
The Andrea converter comes in a small. Heavy plastic Baggie, and includes the following:
- Metal sprue with the torso, pelvis, option of 4 hands, shoes as well as a head.
- One photo etch fret containing the skeleton of the armature
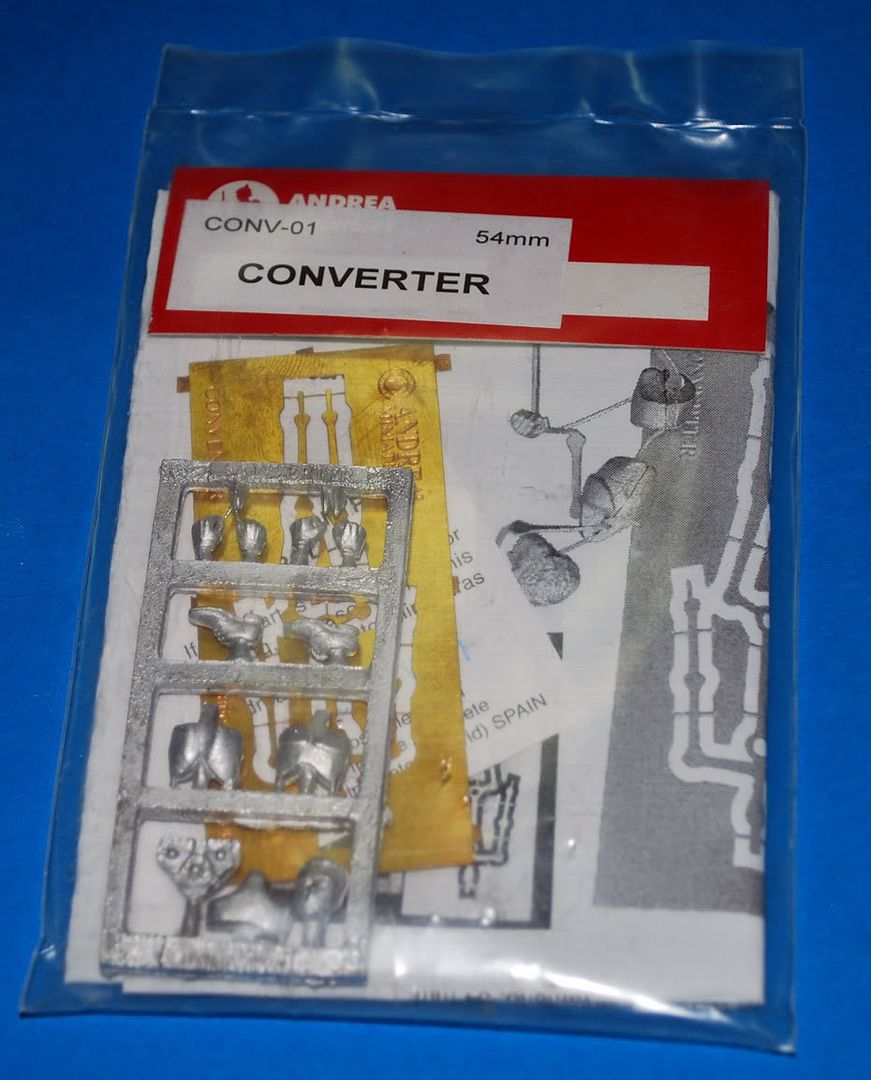
- A simple tutorial how to use the mannequin
click images for hi-res version
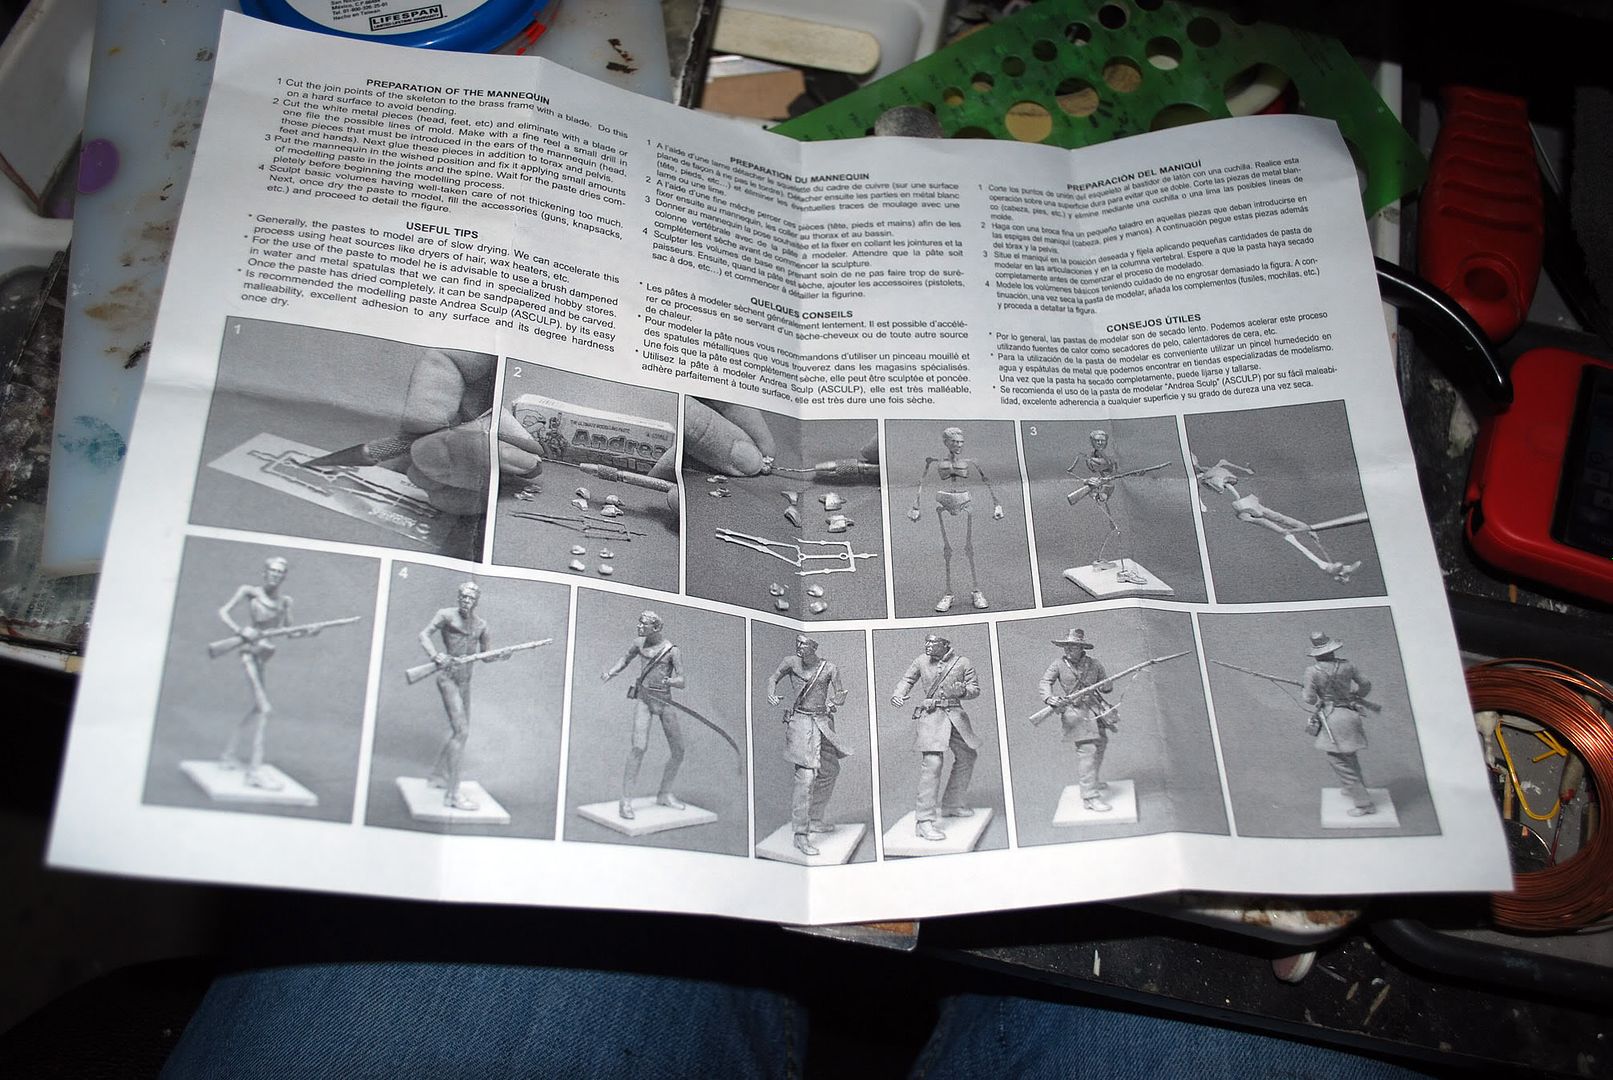
At first glance the mannequin idea to squash a photo etch skeleton in-between the torso and pelvis parts seems very logical and a clever. It is a way to 'beat' the quest to be able to cast a ready made mannequin which requires little prep work and that is anatomically correct without a lot of measuring and cutting of wires. So far so good!
Assembly is done rather quickly and with out much problems, it is slightly tricky to put the two pieces of each of the torso and pelvis together, but as long as you make sure that you put the part with the 'pins' through the holes in the photo etch skeleton first you will have no issues.
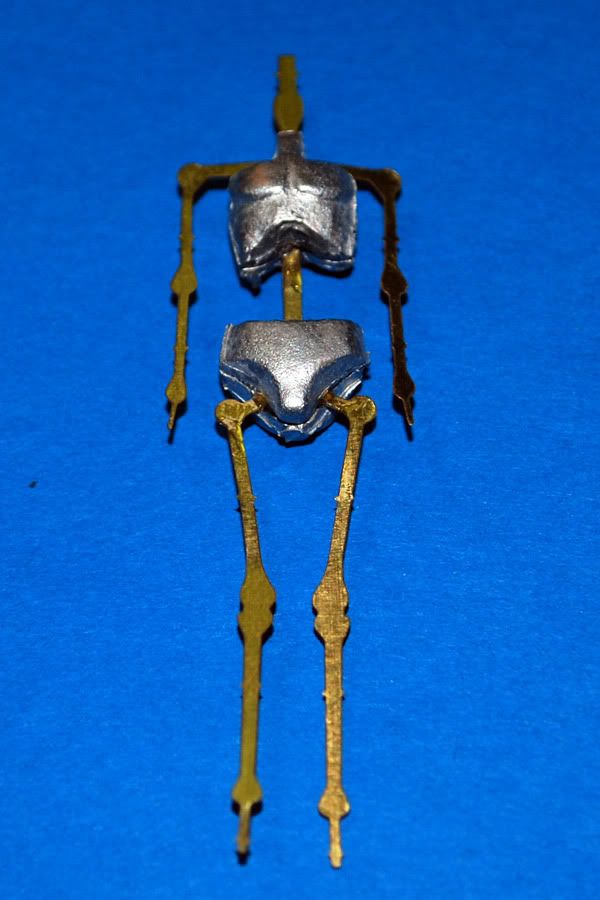
The torso and pelvis pieces went on with little problem, and my first concerns started with the shoes and hands. The photo etch skeleton is made out of very fine grade of brass, as such the pins dedicated to the feet are pretty small, and not too durable. The same is true for the hands, and care must be taken to properly drill the parts to fit the photo etch pins. The hands will need to be carefully planned ahead as the thin pin allocated for the hands probably would not withstand a whole lot of bending.
The neck is a bit heftier and as such more durable.
Once everything was assembled I started playing with posing the mannequin. At first was a little strange as the metal parts have some weight to it, making the photo etch feel quite springy and flimsy. Which is actually my biggest issue with the mannequin, that the photo etch is just a bit too thin to really have any rigidity to it. This will cause a few problems later on as you will see. One could assume the thin brass was deliberately selected so it will have enough flex and soft enough to repose a few times with out breaking. This is merely an assumption on my part though.
Using the Andrea Converter when posing the figure was quite a bit of fun. It takes some of the boring parts out of the equation when using my standard mannequin parts such as gluing the wires, marking the joints and making sure the proportions are correct. A very neat thing about the converter is the way the shoulders are designed. Makes it really easy to properly position the shoulders whether they be raised, pulled back or lowered. A neat touch for sure, and something which I will try out with my own mannequins.
The photo etch seemed fairly forgiving and could probably be bent several times before becoming a problem. I had a pose in mind and went for it so not a ton of repositioning was necessary. To be able to fully use the mannequin though one must have at least a basic understanding how the body works and how it is all connected. But over all it was very easy to pose.
After the pose was set, some super glue was laid onto the brass skeleton to add some rigidity and to lock in the pose. The mannequin was then fleshed out, in this case Milliput Yellow/Gray was used, another endeavor in my quest to try new putties! The thin brass, even with the super glue was a little too flexible, much care needs to be taken when adding the putty as to not push too hard and as a result mess up the desired pose. This is where a heavier gauge of brass would be very handy. A softer putty such as Aves Apoxy sculpt would probably be beneficial to use on this mannequin due to it's softness and ease of application.
click for hi-res version
Once the mannequin was more or less fleshed out I started having some problems. I'm not very gentle with my figures, handling them quite extensively, and as a result some of the putty started to break off. I think this is in part the springy soft brass center that easily bends, thus creating pressure from the inside causing the putty to crack. The reason for this conclusion is that I've not had much problems with the same process using a stiffer, heavier gauge copper wire for the legs.
Click for hi-res image
Other then the soft brass used for the skeleton and its small pins for the extremities, my other concerns about the mannequin is the lack of a way to properly pin the figure once sculpted. Normally when sculpting your own figures the wire used for the legs is left long so it will act as the pin used to secure the figure to the base. In this case it will be hard to properly pin the figure, though this can be useful for sculpting commercial figures as well as mounted figures, or even seated figures for that matter that does not require pinning to the base via the feet. Though I'm sure there is a way to accomplish adequate pinning it is a bit more of a pain then other mannequins. Along the same lines, it is impossible to sculpt the figure in separate parts, without having to cut the figure. Though this probably a lesser issue then the pinning issue it is still something noteworthy.
All in all it's a great little mannequin. The price is way to high at approximately $25 per mannequin, making it almost as expensive as a finished figure, and would be more appropriately priced around $12-$15. The other issues are the soft brass used and the lack of good connections for the hands and feet. But the shear fun of using this product and the ease of assembly makes it worth while to try out. Though perhaps not for the absolute beginner, it is a better option then making your own, at least for the first few figures as it gives you everything you need to start making your very own figures.
And here is the finished mannequin, though I've since opted to change the left hand and head, it will give you a good idea of what it looks like. Once it's all said and done, the figure will be of Edward Rutledge arguing against the Decleration of Independence in June of 1776. Mr. Rutledge was the youngest member of the continental congress, and at the time the Decleration of Independence was debated he was 26 years old.
click for hi-res version


.jpg)


.jpg)


